Category Archives: Activities

Building Boats STEM Activity

Buddy loves to build and be creative. So he was very excited when I asked him if he wanted to build his own boat.

I gave him a variety of foam base materials for the boat. He had parts of a styrofoam egg carton, a foam cup, a foam plate, and a couple of cut up pieces of pool noodle to choose from. Then he had a bunch of other materials to use to finish the boat including wooden skewers, straws, popsicle sticks, play doh, construction paper, coffee filters, and rubber bands.

Buddy decided to make two different boats. For his first, he used the top of the egg carton and a pool noodle slice for the base, and play doh, popsicle sticks, and a coffee filter for the sail. For his second boat, he chose another pool noodle slice, part of the bottom of the egg carton, a couple wooden skewers, a cup, and a straw.

Once both boats were built, Buddy was excited to try them out. Our water table wasn’t quite big enough for them, so we decided to test them in the bath tub. After a few minutes of playing on the side of the tub, Buddy decided he wanted to throw on his bathing suit and get in to play.

Buddy had a great time putting his little toys in the boats and pushing them around. Unfortunately, he quickly learned that play doh and the coffee filter weren’t very durable in the water. Buddy decided that he wanted to use the large egg carton boat as a balance to compare the weights of two things. He also was interested in seeing how much weight his boats could hold before they start to sink.

Buddy had a great time, and I’ve put the rest of the unused materials aside to do this again. It was so fun and I’m sure we will do it again some time soon.

Cooking With Kids: Chocolate Chip Calzone

Buddy loves to cook, and I’m always looking for fun, new recipes to try with him. This year, my husband requested a Chocolate Chip Calzone for his birthday instead of cake. It is a favorite dessert of ours, which used to be made in the Claimjumper Restaurant. I used this recipe to make the calzone.

To make the chocolate chip calzone, you need:

  • A can of pizza dough
  • White chocolate chips
  • Milk chocolate chips
  • Vanilla ice cream
  • Chocolate syrup
  • Whipped cream

We pulled out a can of pizza dough, white chocolate chips, and chocolate chips. Buddy and I unrolled the dough on a pastry mat. Then I had Buddy add a handful of chocolate chips in a line, and then he rolled the dough a bit. Then we added white chocolate chips and rolled the dough some more. We did this a few more times until we had rolled up the whole piece of dough.

I put the chocolate chip calzone on a greased baking sheet and then baked it at 350 degrees for about 20 minutes, once it started getting a little brown. Then I sliced it into 6 slices and topped it with vanilla ice cream, chocolate sauce, and whipped cream. It is so gooey and delicious, and so easy to make! It’s a hit in our household, and I hope we have it again soon.

Easter Egg Spelling Hunt

Buddy and I are home for spring break, and I’ve been looking for fun ways to help him work on his reading and writing. He particularly needs to work on writing lowercase letters. So after doing a regular Easter egg hunt with him, I realized how we could work on his literacy skills while having fun at the same time.

*Disclaimer- this post contains affiliate links for your convenience. As an Amazon associate, I earn from qualifying purchases.*

We started by pulling out some magnetic letters and putting them into empty Easter eggs. Then I hid the eggs around the house. Buddy had a great time looking around our house for the eggs.

I had suggested that we write down the letters we found, but Buddy had the idea to make words with them first. So we decided to open all of the eggs up, pull out the letters, and then make a word. Then we recorded the words on a piece of paper.

I could have limited Buddy to using sight words or specific words that he’s been doing in school. But I let him do whatever he wanted, since my main focus was just getting him to work on his hand writing. So of course, his first word was t-rex. We did take some time to form magic e words to practice a skill from school.

If you have a younger child at your house, you could always do this the way we did a few years ago when Buddy was 3. We just found the letters and matched them up to letters written on a cake pan. You can read more about that activity here.

We had a lot of fun doing our Easter egg hunt, and I’m so happy Buddy was willing to work on his handwriting. I know we’ll be doing this again at least once before the end of break.

Cooking With Kids: Dole Whip Popsicles

Buddy and I have been on a Disney kick lately. So far this summer we have done a virtual Disney World twice, built Disney parade floats, and made Mickey Pretzels. And a couple of weeks ago, we tried to make another Disney inspired food: Dole Whip Popsicles.

*Disclaimer – This post contains affiliate links for your convenience. As an Amazon associate, I earn from qualifying purchases.*

The recipe we used was originally made by Today’s Creative Life. To make Dole Whip popsicles, you need an 8 ounce container of Cool Whip, a 20 ounce can of crushed pineapple, lime juice, and 2 tablespoons of sugar.

It was very easy to make the popsicles. We combined the Cool Whip, crushed pineapple, lime juice, and sugar in the blender. Buddy had a great time pushing the buttons to turn the blender on and the different speed levels. You want to keep going until everything is well mixed and the mixture is smooth. Then you pour the mixture into popsicle molds and put in the freezer.

The original recipe said to freeze 2-4 hours, but we found that wasn’t nearly enough. We had better results when we let the popsicles freeze overnight. While they weren’t quite as good as the original Dole Whip, the taste was very similar and everyone in my family really enjoyed them. We will definitely be making these Dole Whip Popsicles again.

Cooking with Kids: Mickey Pretzels

This summer, Buddy and I have been doing What’s Cooking Wednesdays. He loves to cook, and it’s fun to have an excuse to find kitchen activities for him. Buddy has been asking to do Disney activities a lot recently, so I decided to make Mickey pretzels with him. It is a favorite snack of ours when we are in Disney World, and we were both excited to try it at home.

I got my inspiration from Smart School House’s blog. She uses a can of pretzel dough. I have seen other people use canned pizza dough for pretzels. I didn’t have either of those on hand, though, so I used the hot buttered pretzel recipe from King Arthur Flour. While it was a little more work to make our own dough, it wasn’t too difficult and they were amazingly delicious at the end.

We made the dough by combining 2 1/2 cups bread flour, 1 teaspoon salt, 1 teaspoon sugar, 2 1/4 teaspoons instant yeast, and 1 cup warm water in our mixer. Then we put in a greased bowl and covered with a light towel. The recipe calls for the dough to rise for 30 minutes, but we left it for an hour while Buddy napped.

When we returned to the dough, we split it into 6 equal sized pieces and rolled each into a long log. Our final pretzels were about the size of a dinner plate, so you could do more than 6 parts if you want smaller pretzels. After we made our logs we turned one into a circle to be a Mickey head. Then we split another one to be the two ears.

Next, we put 2 tablespoons of baking soda in 1 cup of boiling water and put it into a 13 x 9 baking pan. You are supposed to let the water cool a bit before dipping the pretzels. We dipped each pretzel into the mixture, and I used a spoon to bath the top part of the pretzel for 2 minutes. Then they went on the baking pan.

We baked the pretzels for 9 minutes at 475 degrees. They came out perfectly done. Then we brushed on 3 tablespoons of melted butter and put kosher salt on two. My husband dipped his in a cinnamon sugar mixture instead.

Our Mickey pretzels were even better than the ones in the parks! And the taste was very, very similar to the ones we get in the mall. We loved them and will be making more pretzels with this recipe in the future.

Disney STEM: Building Parade Floats

Buddy and I love Disney World, and we’ve been missing the parks lately. We were supposed to go in June, but that trip was canceled. Instead, we’ve been busy doing Disney activities at home. (Read about our virtual Disney World here.)

*Disclaimer – This post contains affiliate links for your convenience. As an Amazon associate, I earn from qualifying purchases.*

A friend of mine posted about doing her own Disney at home trip, and one of her activities was building parade floats out of Duplos. I knew Buddy would love it, so I wanted to try it.

Buddy’s been to Disney World twice, but we’ve never watched a parade there together. So before we built our floats, we watched a Disney parade on You Tube. (This is the one we watched, which is a parade from Disneyland.)

Once we had our inspiration it was time to build. Buddy and I searched through his Duplos to find as many wheels as we could. Then we went to build fun and inventive parade floats to carry different characters. We had to do some trial and error to find ways to make the float base large enough to carry the characters and still balance on the wheels. We also had the challenge of getting his Disney characters to stand while the float was moving since they weren’t Duplo blocks.

After we were done, Buddy and I put on some Disney music and made our floats go around his room and into the next room. We had such a blast doing this activity, that the following day Buddy wanted to make more floats before we did anything else. He loves the ones we made, and a week later there are still a few on his shelves that he can bear to put away. It was such a fun and easy activity, and I’m so glad we tried it.

Rock Painting Ideas for Kids

My family has had a crazy spring with everything shut down and trying to do remote learning at home. We’ve also traveled a little bit once summer started. Now that we’re home and school is over, we’ve finally got some time to try some new activities.

*Disclaimer – This post contains affiliate links for your convenience. As an Amazon associate, I earn from qualifying purchases.*

When we were on vacation, our cottage had access to a beach filled with stones. Of course, quite a few of them came home with us, so I had the idea to paint them. We looked through Pinterest for ideas, and tried a bunch of our favorites.

Our first step was to paint a base layer of color on each rock. We used acrylic paint instead of washable paint since I wanted the paint to last. For many of the rocks, we did a base coat on both sides. There were a few that Buddy only wanted one side painted. Make sure your paint is really dry before turning them over. (Side note – even though Buddy is wearing a smock, he did somehow get paint on the back of his clothes. Make sure you double check clothing immediately after painting, and get the paint out before it dries!)

Once we had a base layer of paint, we came back after an hour to decorate. We used small paint brushes, Q-tips, and paint markers to decorate the rocks. Buddy was actually able to do a lot more of the details than I thought he would be able to.

We used small paint brushes to do the dinosaur rocks and the alligator one that Buddy is doing below. We used paint pens to add details to the dinosaur rocks as well. The monster rocks and hedgehog rocks were also created with small paint brushes followed by paint pens for the smaller details.

We used Q-tips to do the dot rocks. They actually turned out better than I thought they would! We also used Q-tips to do the dots in the polar bears eyes/nose, the lady bugs, and the watermelon. Both the polar bears’ ears and the lady bugs’ eyes needed paint pens for the small details.

When we did paint pens, Buddy wanted to write his name and make his own drawings on some of the rocks. It was very easy for him to use and write neatly. We used Sharpie paint pens and Uni Posca paint pens on the rocks. Both worked very well.

After we added our details, we let everything dry again. Then we coated our rocks with two coats of Mod Podge. We turned our rocks a little too soon and a couple stuck to the newspaper. So make sure you wait a long time before you Mod Podge on the back side of your rocks. We applied sticky google eyes to our monster rocks after the Mod Podge step.

Once the rocks were finished, we picked a few to hide at a park near our house. We had so much fun making the rocks, and even more fun hiding some for others to find. It was a great activity, and I’m sure it will be a summer craft for years to come.

Creating a Virtual Disney World at Home

Buddy and I love Disney World. We love to watch YouTube videos of rides and planning our next trip. I saw a couple different families post about doing a virtual trip at their home while Disney World is closed. And since I am looking for new things to keep Buddy entertained at home, I decided to make a Disney World of my own.

*Disclaimer – This post contains affiliate links for your convenience. As an Amazon associate, I earn from qualifying purchases.*

I decided to do all four parks in four different rooms of my house. The signs for every park included an image to scan the magic band and fingerprint to enter. Then I had three different rides/activities for each park. I went through all of Buddy’s toys to find things to set up things to enhance the ride atmosphere. I looked for different ways to add movement while Buddy watched the rides on You Tube. Here are the things we did at each park.

Character Breakfast: I found some Disney characters and set them up for breakfast. I pulled out our Mickey Waffle maker as well, although Buddy opted to have his normal Saturday breakfast of mini muffins instead.

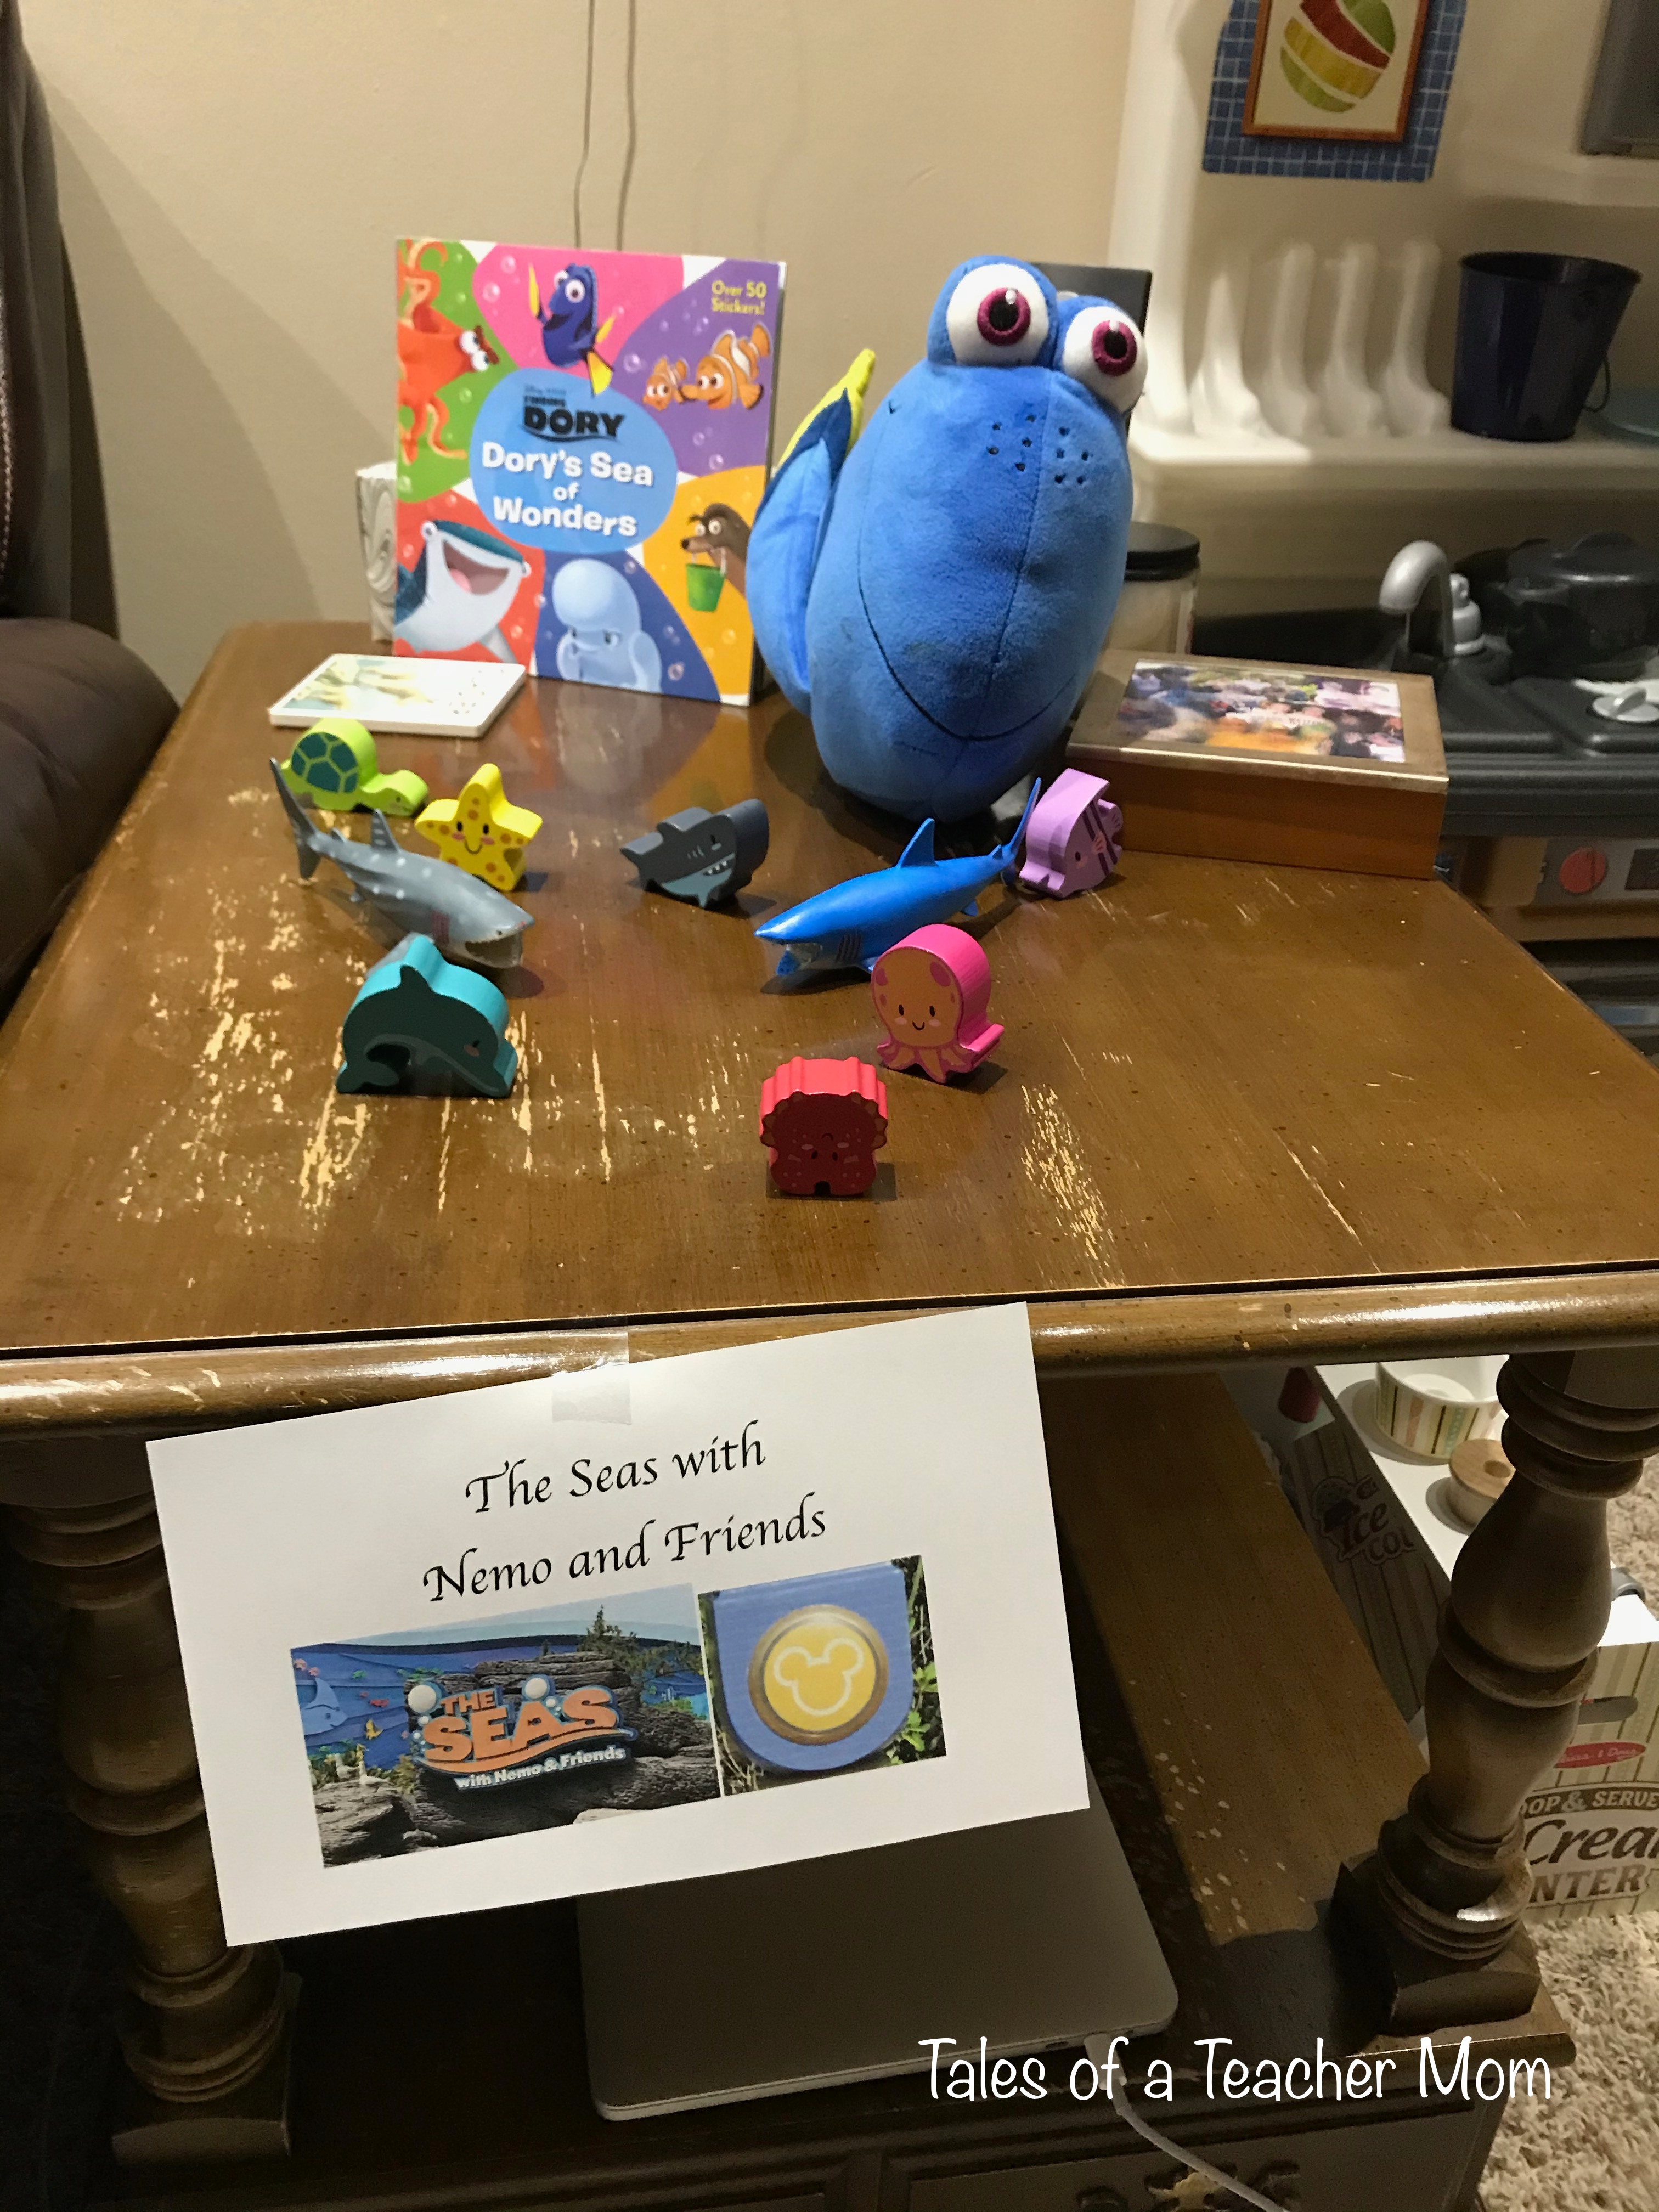
Epcot: Buddy is super excited to go on Soarin. I put his Mickey airplane toy by our power recliner couch. We watched the ride on TV, and I made the recliner go up and down to simulate flight. I set up a bunch of underwater creatures to be the Nemo ride. And we watched the Gran Fiesta Tour on his little arm chair.

Animal Kingdom: I hid Buddy’s little zoo animals around the room, and we used some pretend binoculars to find them. Buddy pretended to drive the jeep, and we walked around the room and looked for the animals. Then he bounced on an ottoman while we watched the Dinosaur ride. And we also searched for dinosaur bones in black beans in the Boneyard.

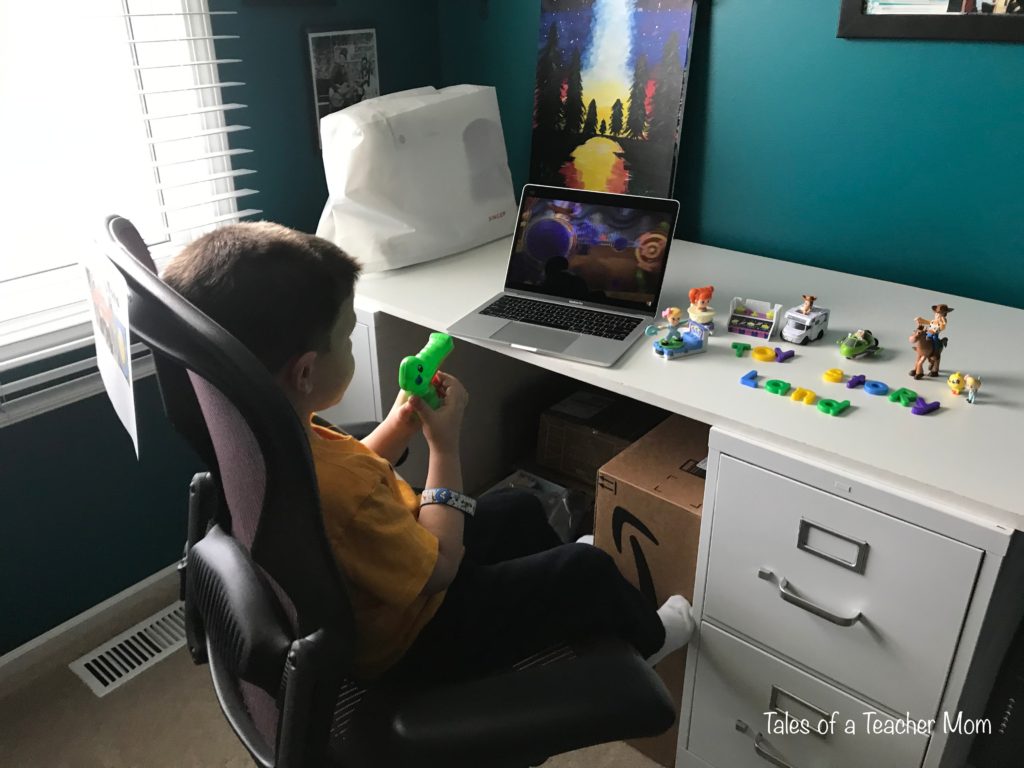
Hollywood Studios: I set up a bunch of Toy Story toys to be Toy Story Land. I got an empty toy water gun and set up my laptop with a desk chair for Toy Story Mania. Every time the ride turned, I spun the desk chair around. Then we did Slinky Dog Dash on an exercise ball. And then we did Mickey and Minnie’s Runaway Railway with Buddy in a laundry basket, and I pushed him around.

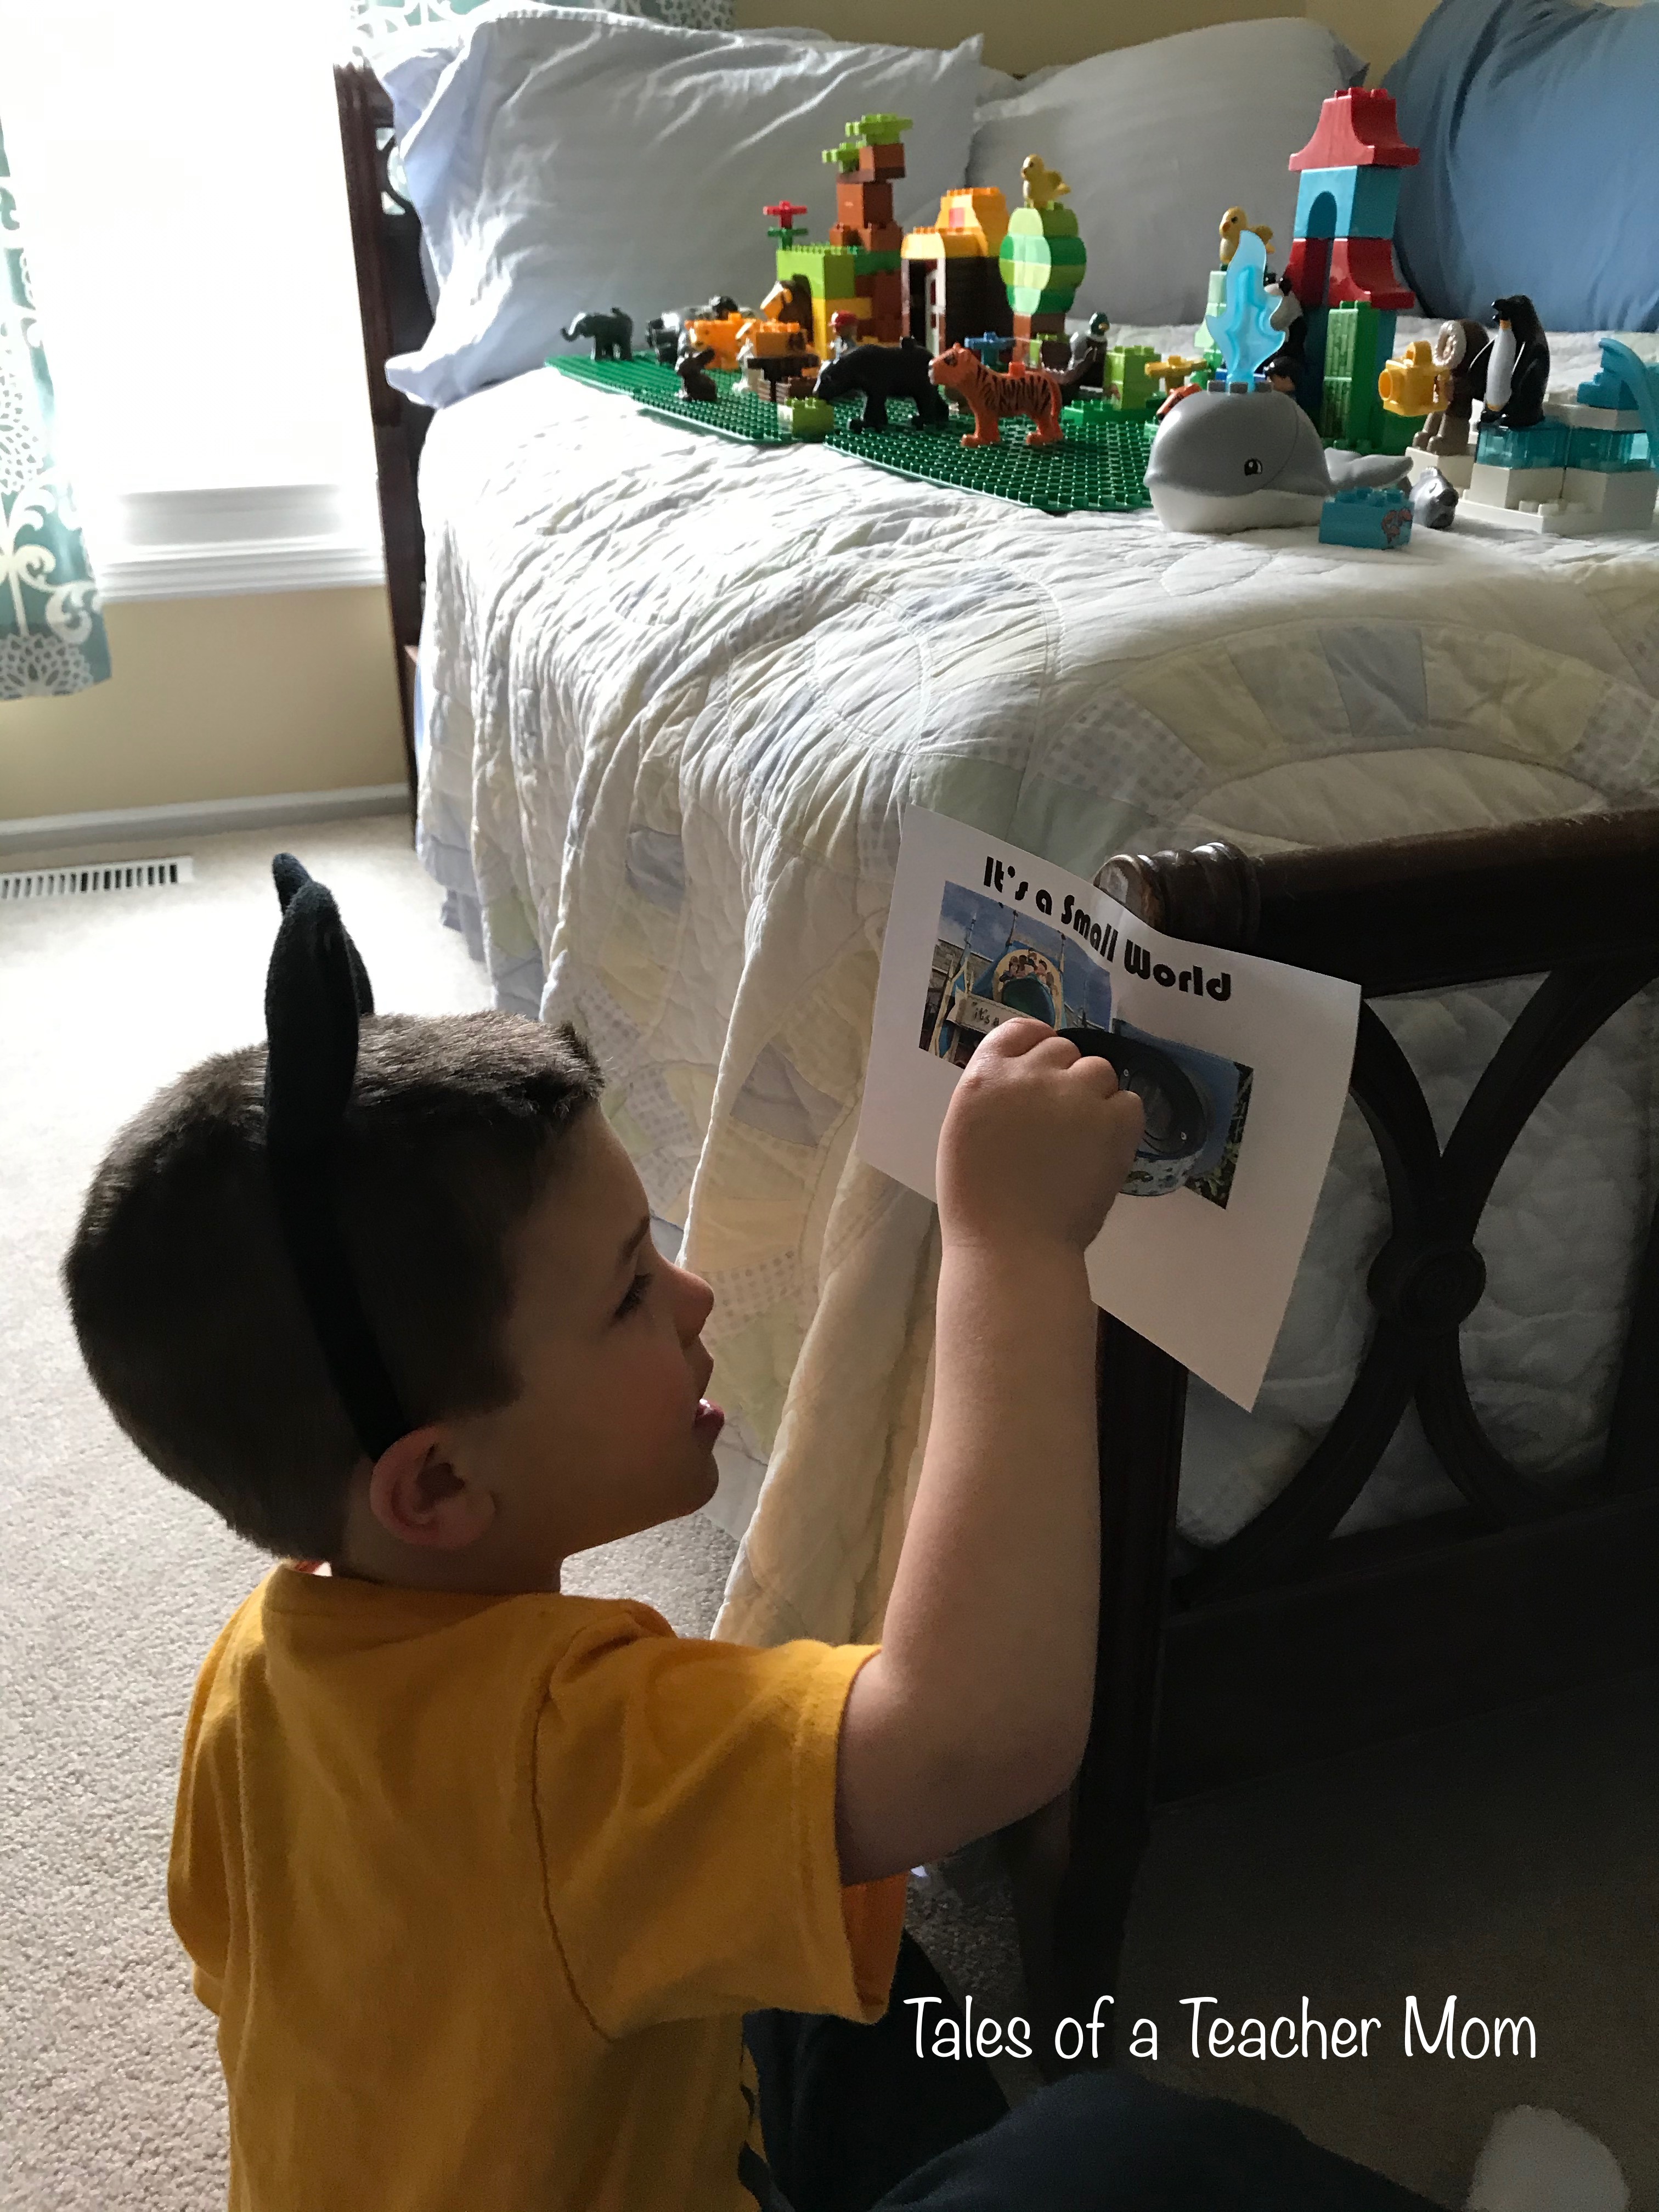
Magic Kingdom: I set up Buddy’s Around the World Duplo set to be It’s a Small World, and then I pushed him around on a desk chair. We went into his rocket tent with a flashlight to do Buzz Lightyear’s Ranger Spin, and he tried to shoot the targets on the video with his flashlight. And then we did Seven Dwarfs Mine Train with Buddy in a laundry basket.

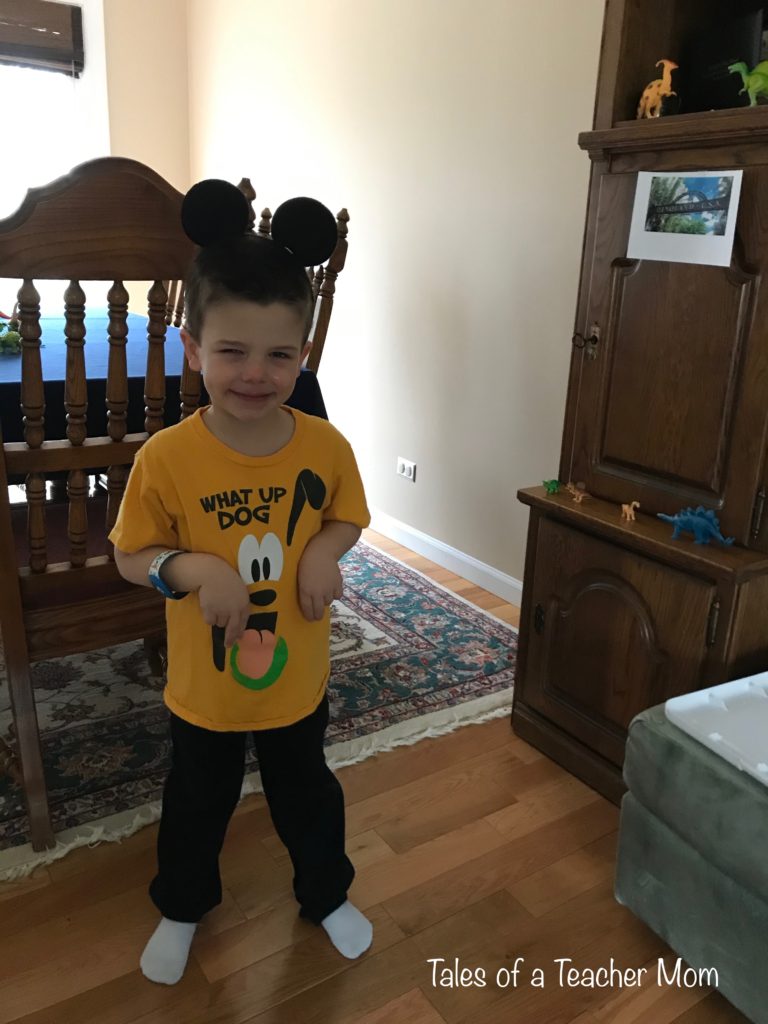
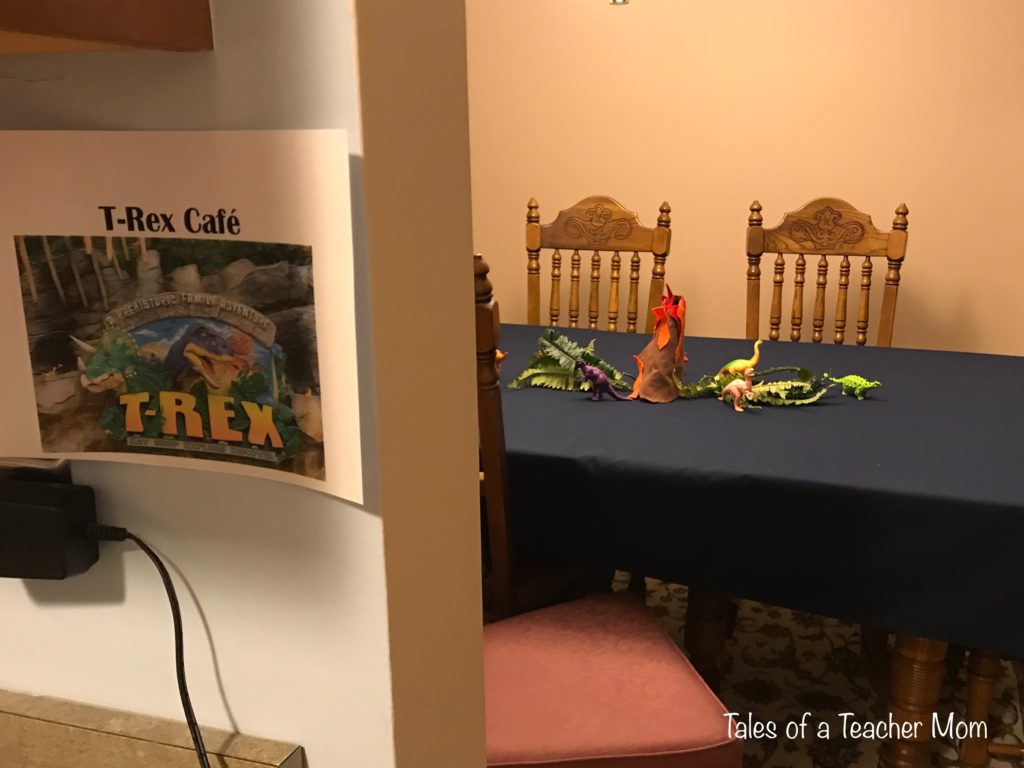
Our final activity was lunch at the T-Rex cafe. I put a bunch of dinosaurs on and around the dining room table. This area was also part of Dinoland USA in terms of the decorating in our house, even though the real T-Rex cafe is at Disney Springs. I used a dinosaur sandwich cookie cutter for his sandwich and he drank out of the refillable cup we got at the real T-Rex cafe. This was Buddy’s favorite part of Disney World, and the only part of the experience that wasn’t taken down by the end of the day.

I’m attaching my printable in case anyone else is inspired to create a Disney World at their own home. Do you have any other fun activities to do with a four year old at home? Please share your ideas in the comments section.

COVID Homeschool Preschool Schedule

Thousands of schools across the country have switched to e-learning this week, to help reduce the spread of the COVID-19 virus. And many parents, like me, are having to find ways to work at home while caring for their child. It’s a huge transition for my whole family, and I knew it was important for Buddy and I to have a schedule for our day.

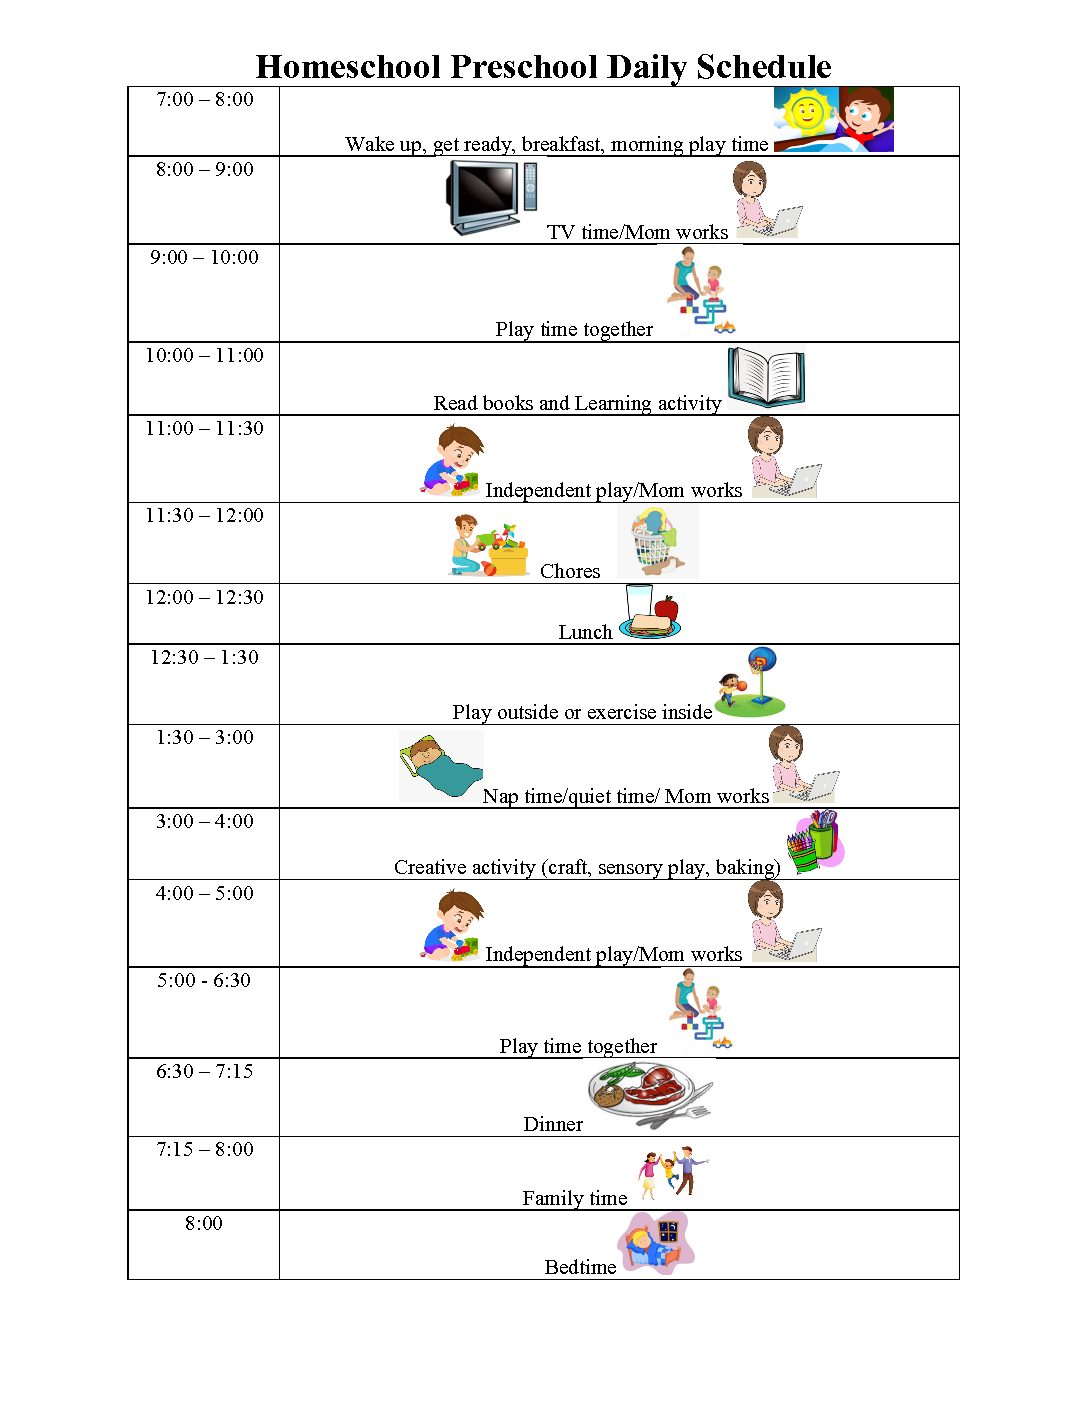
I made this schedule and am sharing it in case it is useful to you and your family. I included pictures since Buddy can’t read to help him understand the different parts to our day. Hopefully having a visual schedule will help Buddy understand when I can play and when I’ll be busy. I have included the word file below so you can adapt it for your family’s needs.

For our reading and learning time in the morning, I am planning to read a book and do a related activity. I have a koala crate subscription, and we already have some books and projects available. Also, I am planning to use some of the books we already own along with these virtual field trips. (Links to trip ideas here and here.) I am hoping to work with Buddy to make a report of our activities to share with my husband at the end of the day. I’m sure we will also revisit some of our Time to Read Tuesday activities from summers in the past.

In the afternoon, I plan to pull out play doh, kinetic sand, our bean or rice sensory bins, do an art project, or bake. Some of my favorite sensory play activities can be found here.

I hope this is helpful to anyone else who will be home with their kids during the next few weeks. If you have any other resources to share, please share in the comments.

Airplanes and Clouds Sensory Play

This has been a crazy and stressful school year for me, and as a result, I haven’t been blogging much. I’ve missed it, and I’m going to try to do more blog posts in 2020.

This activity is one Buddy and I did last summer, but I haven’t gotten around to blogging about it yet. I first saw the idea for an airplane sensory tub on Fun with Mama’s blog. Buddy loves airplanes, so I knew this would be a good activity for him.

I got the activity ready by getting a travel sized can of shaving cream and the lid to our sensory bin for the clouds. I also used a silver Sharpie, a ruler, and a black piece of construction paper to make a runway. Buddy has a bunch of planes, but we chose to use the metal ones from the dollar store for this activity. That way, if they got wrecked, they would be easy to replace. (They didn’t get wrecked though, which is a great thing.)

I showed Buddy how to make some shaving cream clouds on the lid. Then I let him have a try. Buddy isn’t always a kid that enjoys messy activities, so he was a little nervous about the shaving cream. But he quickly decided the foam was really fun.

Buddy and I flew the planes off the runway and into the shaving cream clouds. They quickly got very messy, but it was a lot of fun.

After a few runs, I got a tub of water and a sponge to wash the planes down. Buddy loved playing with the planes in the water as much as the foam.

Once the big piles of foam had been smashed down a bit, it was easier for the planes to fly “through the clouds” without it being such a mess. Then Buddy happily made them fly back and forth in the foam with the occasional trip to either the plane wash or the runway.

This activity was a huge hit with Buddy. He asked to keep the runway, and he still uses it from time to time when he plays with planes.